
Selling an item online implies several procedures that are considered crucial, and one of the core of them is Setting Up Payment Gateways in Shopify configuration. Shopify that is one of the most popular e-commerce platforms today provides numerous payment gateways to make payments seamless and secure for the buyers. Here is a step by step guide on how to add payment method options on Shopify in order to enhance the payment experience to your costumers.
Understanding Payment Gateways
To begin with the basic definition, a payment gateway is a software that helps make secure transactions on the Internet possible. A payment gateway is a merchant’s interface to the bank which enables the acceptance and processing of direct payments for a particular transaction. They come between your online store and these financial institutions facilitating that the payment information to be processed is transferred securely.
Why Use Shopify for Payments?
Also Reas: Shopify common issues and their resolutions for the new users
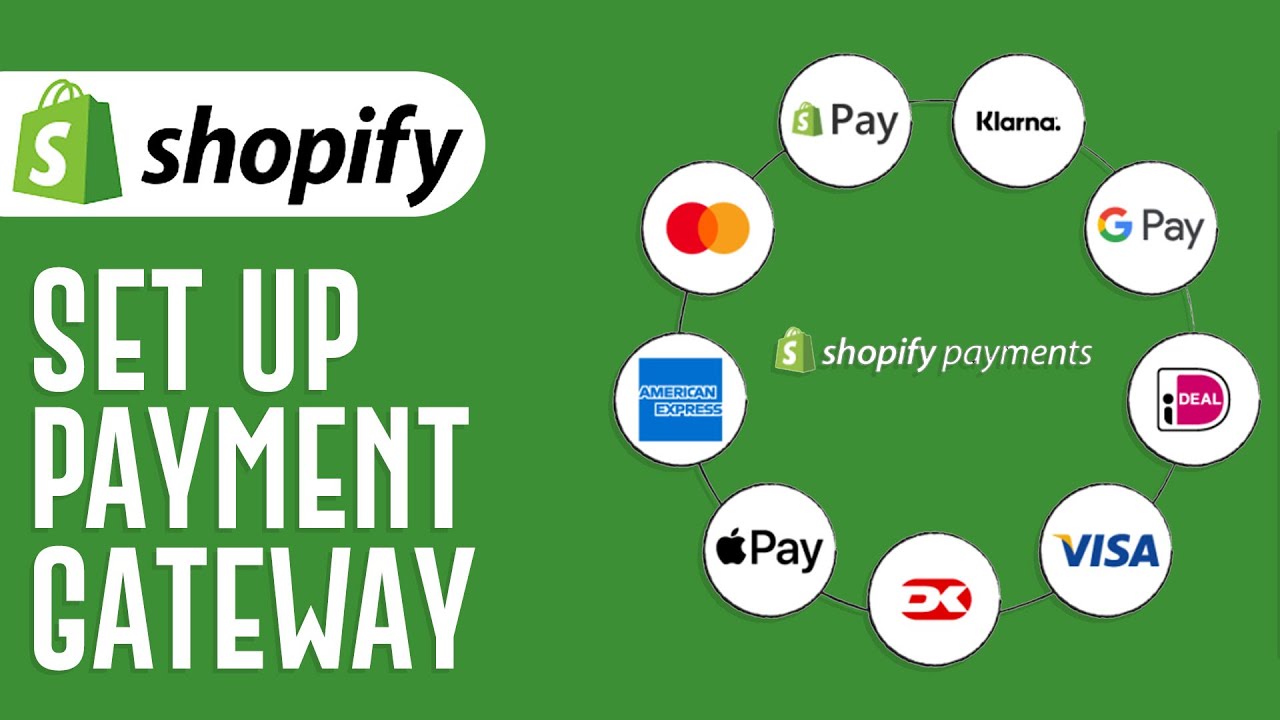
Shopify minimizes the process of adding payment gateways by listing many of them or integrating with them. Shopify supports one built-in payment solution Setting Up Payment Gateways in Shopify, third-party service providers with Shopify POS, or use others such as PayPal, and cryptocurrencies. This flexibility helps to guarantee that the business meets the needs of the customers with different means of paying for the products.
Setting Up Payment Gateways in Shopify: A Manual
1. Go To Your Shopify Backend
First, you have to open a Shopify admin panel and sign in to it. This is the administrative platform for your online shopping platform and covers all aspects from the products you are selling to the orders placed by consumers.
2. Go to the Payments Section.
After getting into the admin panel, find the “Settings” which is situated at the lower left corner of the panel. Next, a user ought to navigate to “Payments” This is one of the sections that help a user to customize various aspects of the platform’s payments options as well as configuring them Setting Up Payment Gateways in Shopify.
3. Choose Your Payment Providers to Setting Up Payment Gateways in Shopify
In the Payments area, there are several settings for payment gateways which one can select. Shopify categorizes these into three main sections:Shopify categorizes these into three main sections:
- Shopify Payments
- Third-party providers
- Alternative payment methods
4. Setting Up Shopify Payments
Shopify Payments is the easiest and integrated method as compared to other available methods. It lets you take payments through the key credit cards through your keep without requiring the services of a third-party processor.
Setting Up Payment Gateways in Shopify:
- Activate Shopify Payments: Navigate to the Shop tab on the Shopify admin and click the “Activate Shopify Payments” button.
- Enter Business Information: An opening of your business type and the address of your business, as well as your banking details for payouts.
- Configure Payment Options: Decide which credit cards you would like to take (for instance Visa, master Card, and American Express).
- Set Up Fraud Prevention: Some of the features of the Shopify Payments include; it comes with integrated fraud detection instruments. Set them to improve the security of your transactions.
5. Establishment of Third Party Payments
Shopify has various third-party payment providers supported, provided that if you are interested in the common payment processor options like the Stripe, Square, and Authorize. net. To set up a third-party provider:To set up a third-party provider:
- Select a Provider: Moving down the page to the “Third-party provider” area and select “Choose third-party provider. ”
- Search for Your Provider: Listing of available payment gateways: If you want to map this payment gateway then search its name in the search bar given here or find it in the list which is given below.
- Create an Account: You are required to have an account with the provider if you have none, you will need to open one.
- Connect Your Account: Hence, it is recommended to follow the prompts for signing in with the third party provider to store and access related information through Shopify.
- Configure Settings: Modify the settings that, based on your provider’s needs and desires, must be incorporated.
6. It is also important to set up methods of payment the client or company may use with someone else as it has been described in the next activity.
Other integrated payment platforms are PayPal, Amazon Pay, apple Pay or any other digital and even cryptocurrency modes of payment. The above methods are relevant to those clients who do not want to apply for credit cards. To set up an alternative payment method:To set up an alternative payment method:
- Select a Method: Go down to the subheading of “Other ways to pay”.
- Choose a Provider: After that, click on the link “Choose alternative payment” and choose the appropriate payment service.
- Follow the Instructions: The contexts of each provider are different from one another; therefore, the setup procedures are diverse as well. Please follow the guidelines that are stated to link and establish your additional type of payment method.
- Enable the Payment Method: Once the payment method has been set up make sure that it is active for your store.
Configuring Payment Gateway Settings
Once you have defined a range of payment gateways on your system, the next best practice is to make minor adjustments to enhance the process of checking out for your patrons. Here are some key settings to consider:Here are some key settings to consider:
1. Payment Authorization
You can choose between two types of payment authorization:
- Automatic Capture: They capture the payments and these payments go through the process instantaneously.
- Manual Capture: Payments are approved, but you have to manually enter it if it has not been created automatically. This option also has flexibility in transactions in as far as the trader is concerned.
2. Currencies and Multi-Currency Support
If you deliver your product to other countries, it is advisable to add possibility to work in different currencies. It also supports multiple currencies – this way, your clients from different countries will be enabled to pay in a currency with which they are familiar with.
3. Fraud Prevention and Security
Make sure you have sound methods of combating fraud. Setting Up Payment Gateways in Shopify include some features such as AVS and CVV checks integrated into Shopify. In case of third-party providers, one should read the provided documentation to implement similar capabilities.
4. Payment Notifications
Subscribe to receive emails to get a notification of any successful payment or any attempt that has failed and more. This keeps you up to date and enables you to deal with any complications that may exist.
Testing Your Payment Gateways
Ideally, there should be steps taken to test the payment gateways so that you have a chance to find out that everything is in order. Shopify currently has a testing mode for Setting Up Payment Gateways in Shopify and many of the third-party providers have a sandbox environment. Here’s how to test your payment gateways:Here’s how to test your payment gateways:
- Enable Test Mode: Finally, under Payments, toggle test mode on for Shopify or follow your third-party provider’s guide to the sandbox.
- Place Test Orders: To perform true transaction simulation, use test credit card numbers that Shopify offers or obtain from your payment solution partner.
- Verify Transactions: Make sure the transactions as processed as they should and that you are receiving the right notifications.
- Disable Test Mode: After testing, you can turn off the test mode so that your platform would be able to take real money.
Going Live and Monitoring performance
After you have set up your payment gateways of choice and ensured that they work as implemented go live. It is advisable to frequently review your payment gateway performance so as not to subject your customers to a difficult time at check out. Track the transactions, the timers for the payouts and any problems that may occur.
Conclusion
Setting Up Payment Gateways in Shopify to the Shopify store is quite easy and can help in boosting sales of your online business. Accepting more than one form of payment will improve the shopping experience and act as a strategy with regards to catering for more clients. By reading this guide from start to finish, no matter which of the three options for payment method integration you opt for; Shopify Payments, third parties, or other methods, the process of setting up a safe and optimal payment experience for your buyers will be significantly eased. Happy selling!